Showing posts with label Spider Web. Show all posts

Monday, September 05, 2016

Another Spider Web, different approach


My blocks are together, as are a few rows.  My goal this time was to learn how to "complete" each web before the border starts .  No chopped off webs!  I'll probably make a narrow border, then a wider one.   Backgrounds are also scrappy.  This started a few weeks ago, with a real in-person meeting with Karla Alexander (many quilt books!).  Her pattern is called "Tango" - done in blues.  I wish I had used blues, since I'd already had made a spider web with earth colors.  Oh well!  This is one of those "can't see the forest for the trees" syndromes - I just was so intent on the newer method, I totally forgot choices of colors.  LOL

Again, here is how it goes together - not like you might expect.  See the diagonal seam line across the block?  2 of them fit together to make the square block. 
 

Here is my previous finished quilt - I like it but don't like how the webs kinda just stop where they meet the borders.  Soooo, now I have two!  Good grief. 

Wednesday, August 24, 2016

Frixion Pen, and New Spider Web


I am hand quilting, have worked out to a wide border that has side setting triangles.  The fabric in the side setting triangles and also in the border (soft green and white stripes) are the same fabric.  I'm doing a lot of grid quilting that must be marked,  and decided to try the Frixion pen.  Of course I was afraid but ... the lines totally disappear with heat.  Instead of using the iron for heat, I threw the quilt-in-process over the bed, and  used the hair dryer.  OMgoodness, those lines disappear like magic.  The pen tip is just like a slender ball point pen.  It's made by Pilot.  I wrapped a big bulky rubber band around it to be sure it was not used for anything else.  I'm very pleased.

If you have not done grid quilting (hand or machine), by all means ... plan ahead.  When there are multiple places where you plan the grid, remember that it all has to be equidistant or creatively altered.  I realized my 1 inch lines would NOT be perfect as it went from one space to the next, so some different ideas had to used - not brainy, just thought out.   DH helped.  8-)))
=============


And here is new project, based on Karla Alexander's system, a spider web.   She advertises the Creative Grids Rulers.  This video is also on YouTube.  She does a nice "ending" to her spider web, so they aren't just "cut off" at the borders, and that is what I learned at a recent trunk show she held at Pat's Creative Stitchery.  Below is one block.  4 are needed for a completed spider web.  

I've made this design before, but this is a different approach.  Below are the "kites".  When blocks are together, the "kites" provide their own design.   Karla has written a number of quilt books.  Her "thing" is sliced, slid, shuffled strips.  
Below are 4 unpressed strata, to be cut into wedges.  Each set of "Strata" is made of 5 of the same strips, but in a shuffled order.  There are 7 wedges in each strata, meaning that there is some mixing of the wedges to make 8 as needed for a "web".

And .... wonder of wonder ...these are NOT scraps, I bought  these FQs specifically for a "special" project, like this one.

Friday, November 21, 2014

More lessons to learn

 
Oh boy, new photo system, new to this computer, new to this brain!!!  Old camera (2006) not functioning as I remembered it used to, and I had been using an old 2003 Windows XP desktop in the past, but for now, it is not cooperating.  The little camera disc is also not reading to this newer laptop, not sure what to do about that, but I was happy to find out the camera cable will connect to this gadget - I DO  have a brand new rechargeable battery in the camera and that part is now making the camera work properly.  Duhhh, I didn't realize I was supposed to purchase new rechargeable batteries.  My camera is a Kodak -- rechargeable batteries were not easy to find.  However, my friend Fern directed me to www.batteriesplus.com, I called the Ft. Collins franchise, and they mailed me what I needed. 

Does anyone have suggestions as to why my camera disc won't read on this new laptop?  It used to a year ago, when last I tried it.  The laptop recognizes it is "there" but I get an "error".  Perhaps because the previous battery was dead it damaged something to the disc?

Now, I just need to figure how to wander thru this new interface.  It was not as difficult as I had imagined. 
 
 I was asked to make a small quilt for an auction.  I called it "Gifts" meaning we all have gifts to offer not just the kinds that we wrap up.  It's about 38" x 40", and would be artfully positioned in a small antique sled.  I quilted winding ribbons all over it first in one thread, then another. 

Time was short so I started with a lovely Moda Charm Pack - I have never done that before.  What a time saver! 

The feathers on the outside border were easy.  My friend Jody calls them "fat ladies on a barstool"!  LOL

The backing was PERFECT. 

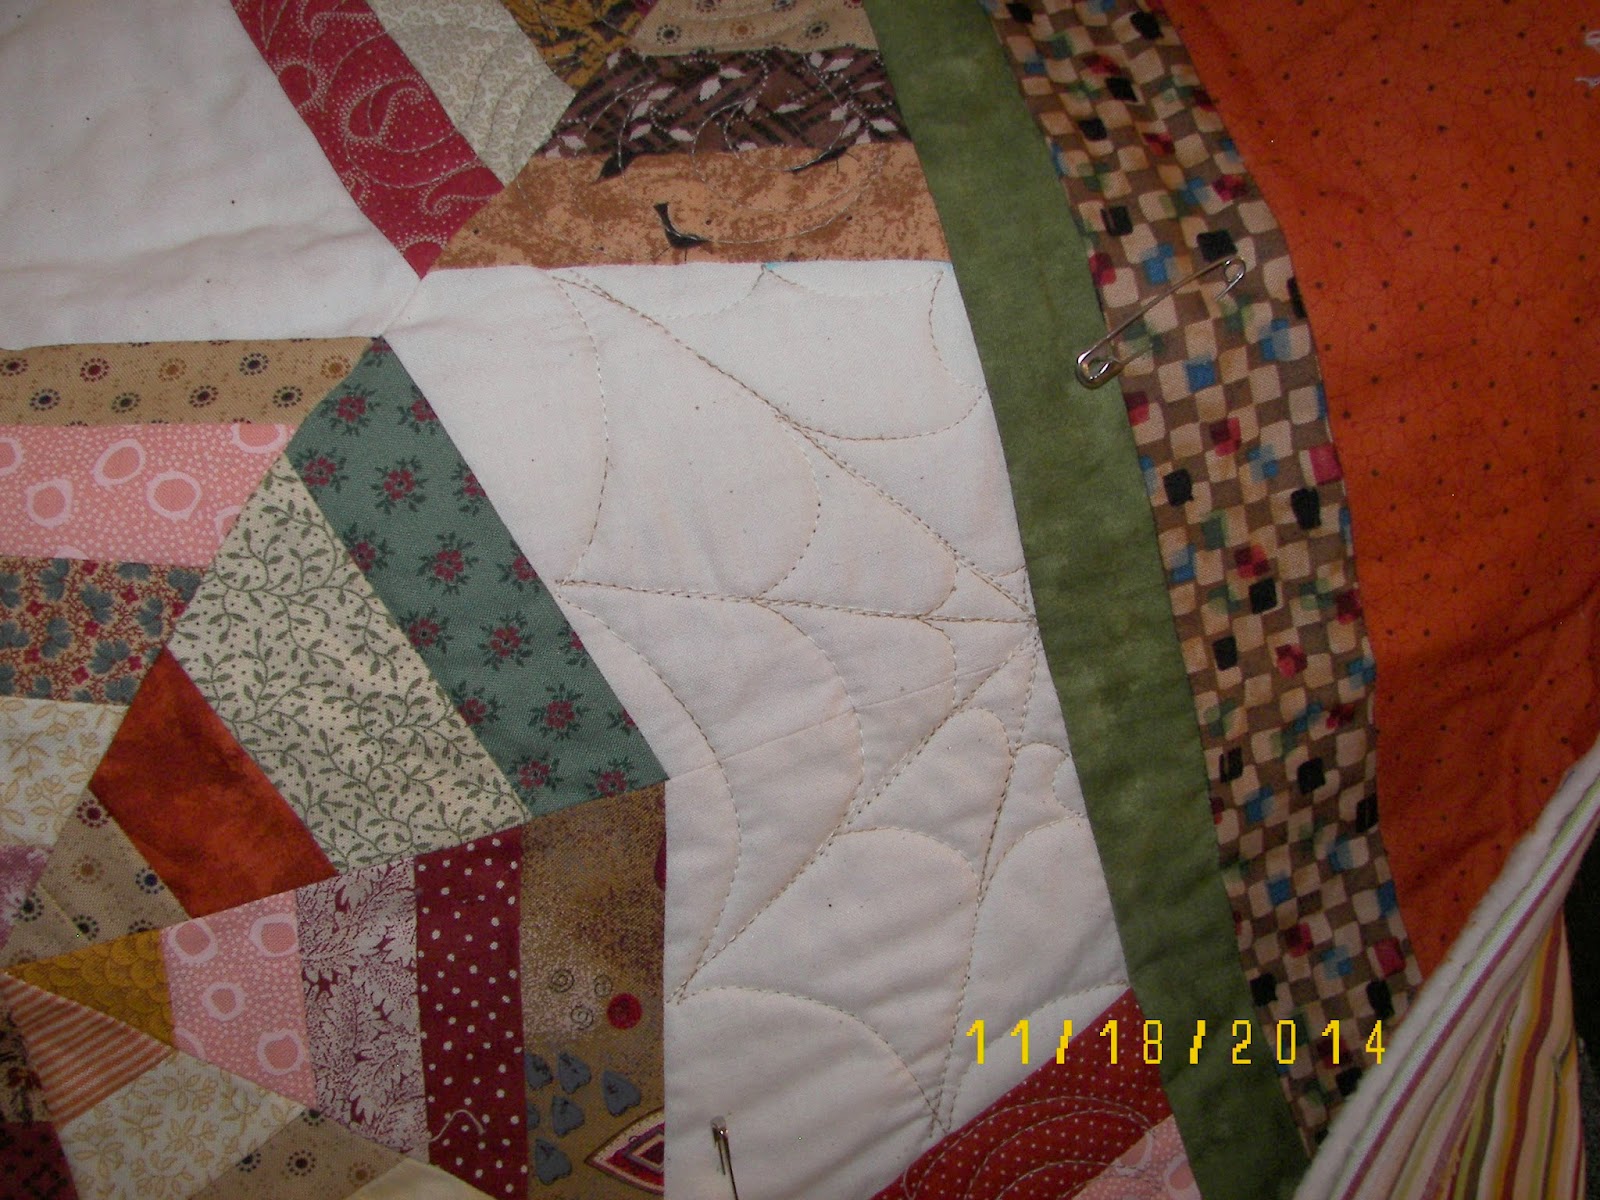
Below is my Scrappy Spider Web I've been working on between machine problems.  Did ya ever have whole months when NOTHING was working properly?  Ok, got that fixed, and improved my stitching issues with Sewers Aid liquid lubricant.  What a great improvement THAT made! 


The first spider webs were in a creamy tan thread - didn't look quite right, so I changed to a white shiny poly that had some silvery look to it - much better. 
 
I deserve a GOLD STAR after struggling with a variety of geekie issues.  I stuck with it, didn't cry, didn't curse and swear, and didn't give up!  8-))))  I am woman, hear me roar!!!!! 8-)))

Saturday, June 09, 2012

Spider Web - YIKES

I've had a pile of 1 1/2 inch strips on my sewing center for uhhhh, well over a year, for "the right moment" (that sounds like a Viagra commercial - LOL) -- and the time has come!  In appreciation for the videos from Missouri Quilt Co,  on YouTube, I had purchased a template and precut papers from them for a Spider Web Quilt.  I already had the slubby muslin for the star points - I am very happy with it so far!  The package included the template, the papers, and a Lapel Stick glue. These are laying how I finished them - no arrangement yet. 


If you try this project with YOUR strips, you will love your colors, as they have come from YOUR stash.  This is what you do with strings of STASH!

The blocks look to be about 10 inches.  You start by pasting the muslin down ON the paper, which is marked, then start adding the strips, pressing, then trimming them cleanly - EASY-PEASY!  There are various other patterns going 'round, and I was inspired by the one on Quiltville.com, but this is the direction I went.  The hardest part was deciding on the color for the muslin "stars."  (Yes, the paper has to come off, later.  I used a small stitch.)

After making about 30 blocks, I started running low on darks, and raided my 2 inch box of strips, and it looks like I'll have to raid my 2.5 inch box of strips.  I'll trim them slimmer.  BTW, I'll made NO effort at matching seams on those strings when it's time to put the HSTs together.